DIY Ambilight Magic: Transform Your TV with Raspberry Pi and Hyperion!
Introduction
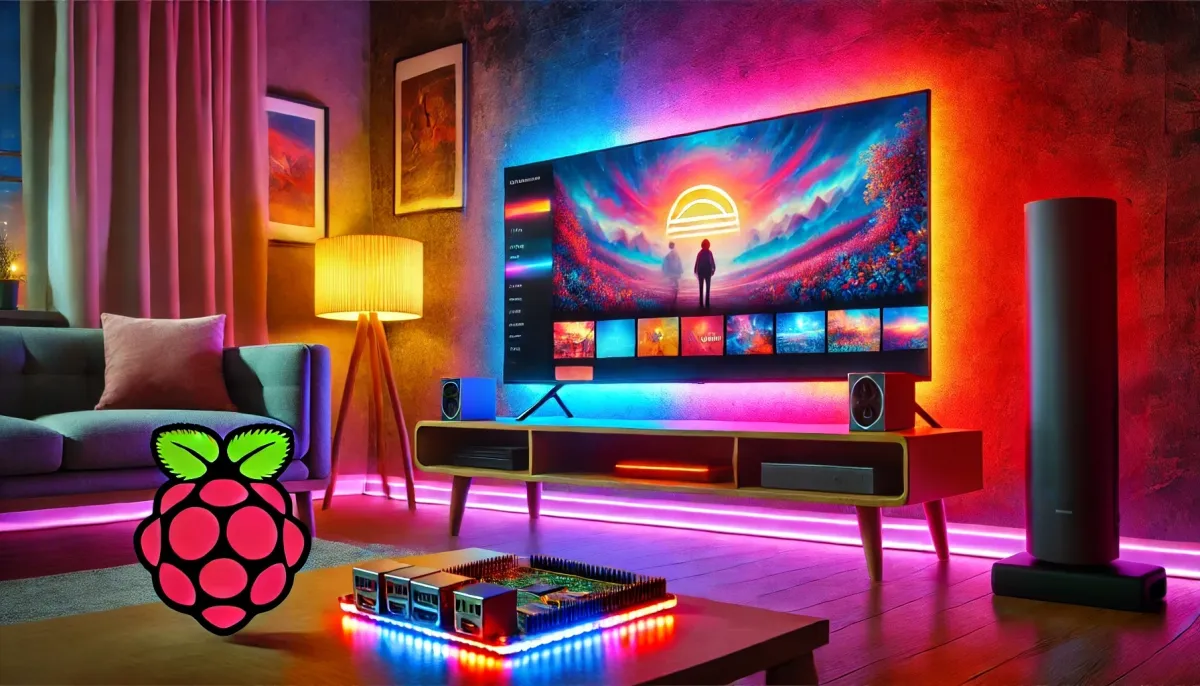
Imagine your movies and games spilling off the screen with ambient lighting that mirrors the action, enhancing every scene. In this blog, I’ll take you through my journey of setting up an Ambilight effect using Hyperion and a Raspberry Pi 4, creating a dynamic visual experience on my 75-inch TV.
Equipment and Requirements
Let’s start with the equipment and software required for this project:
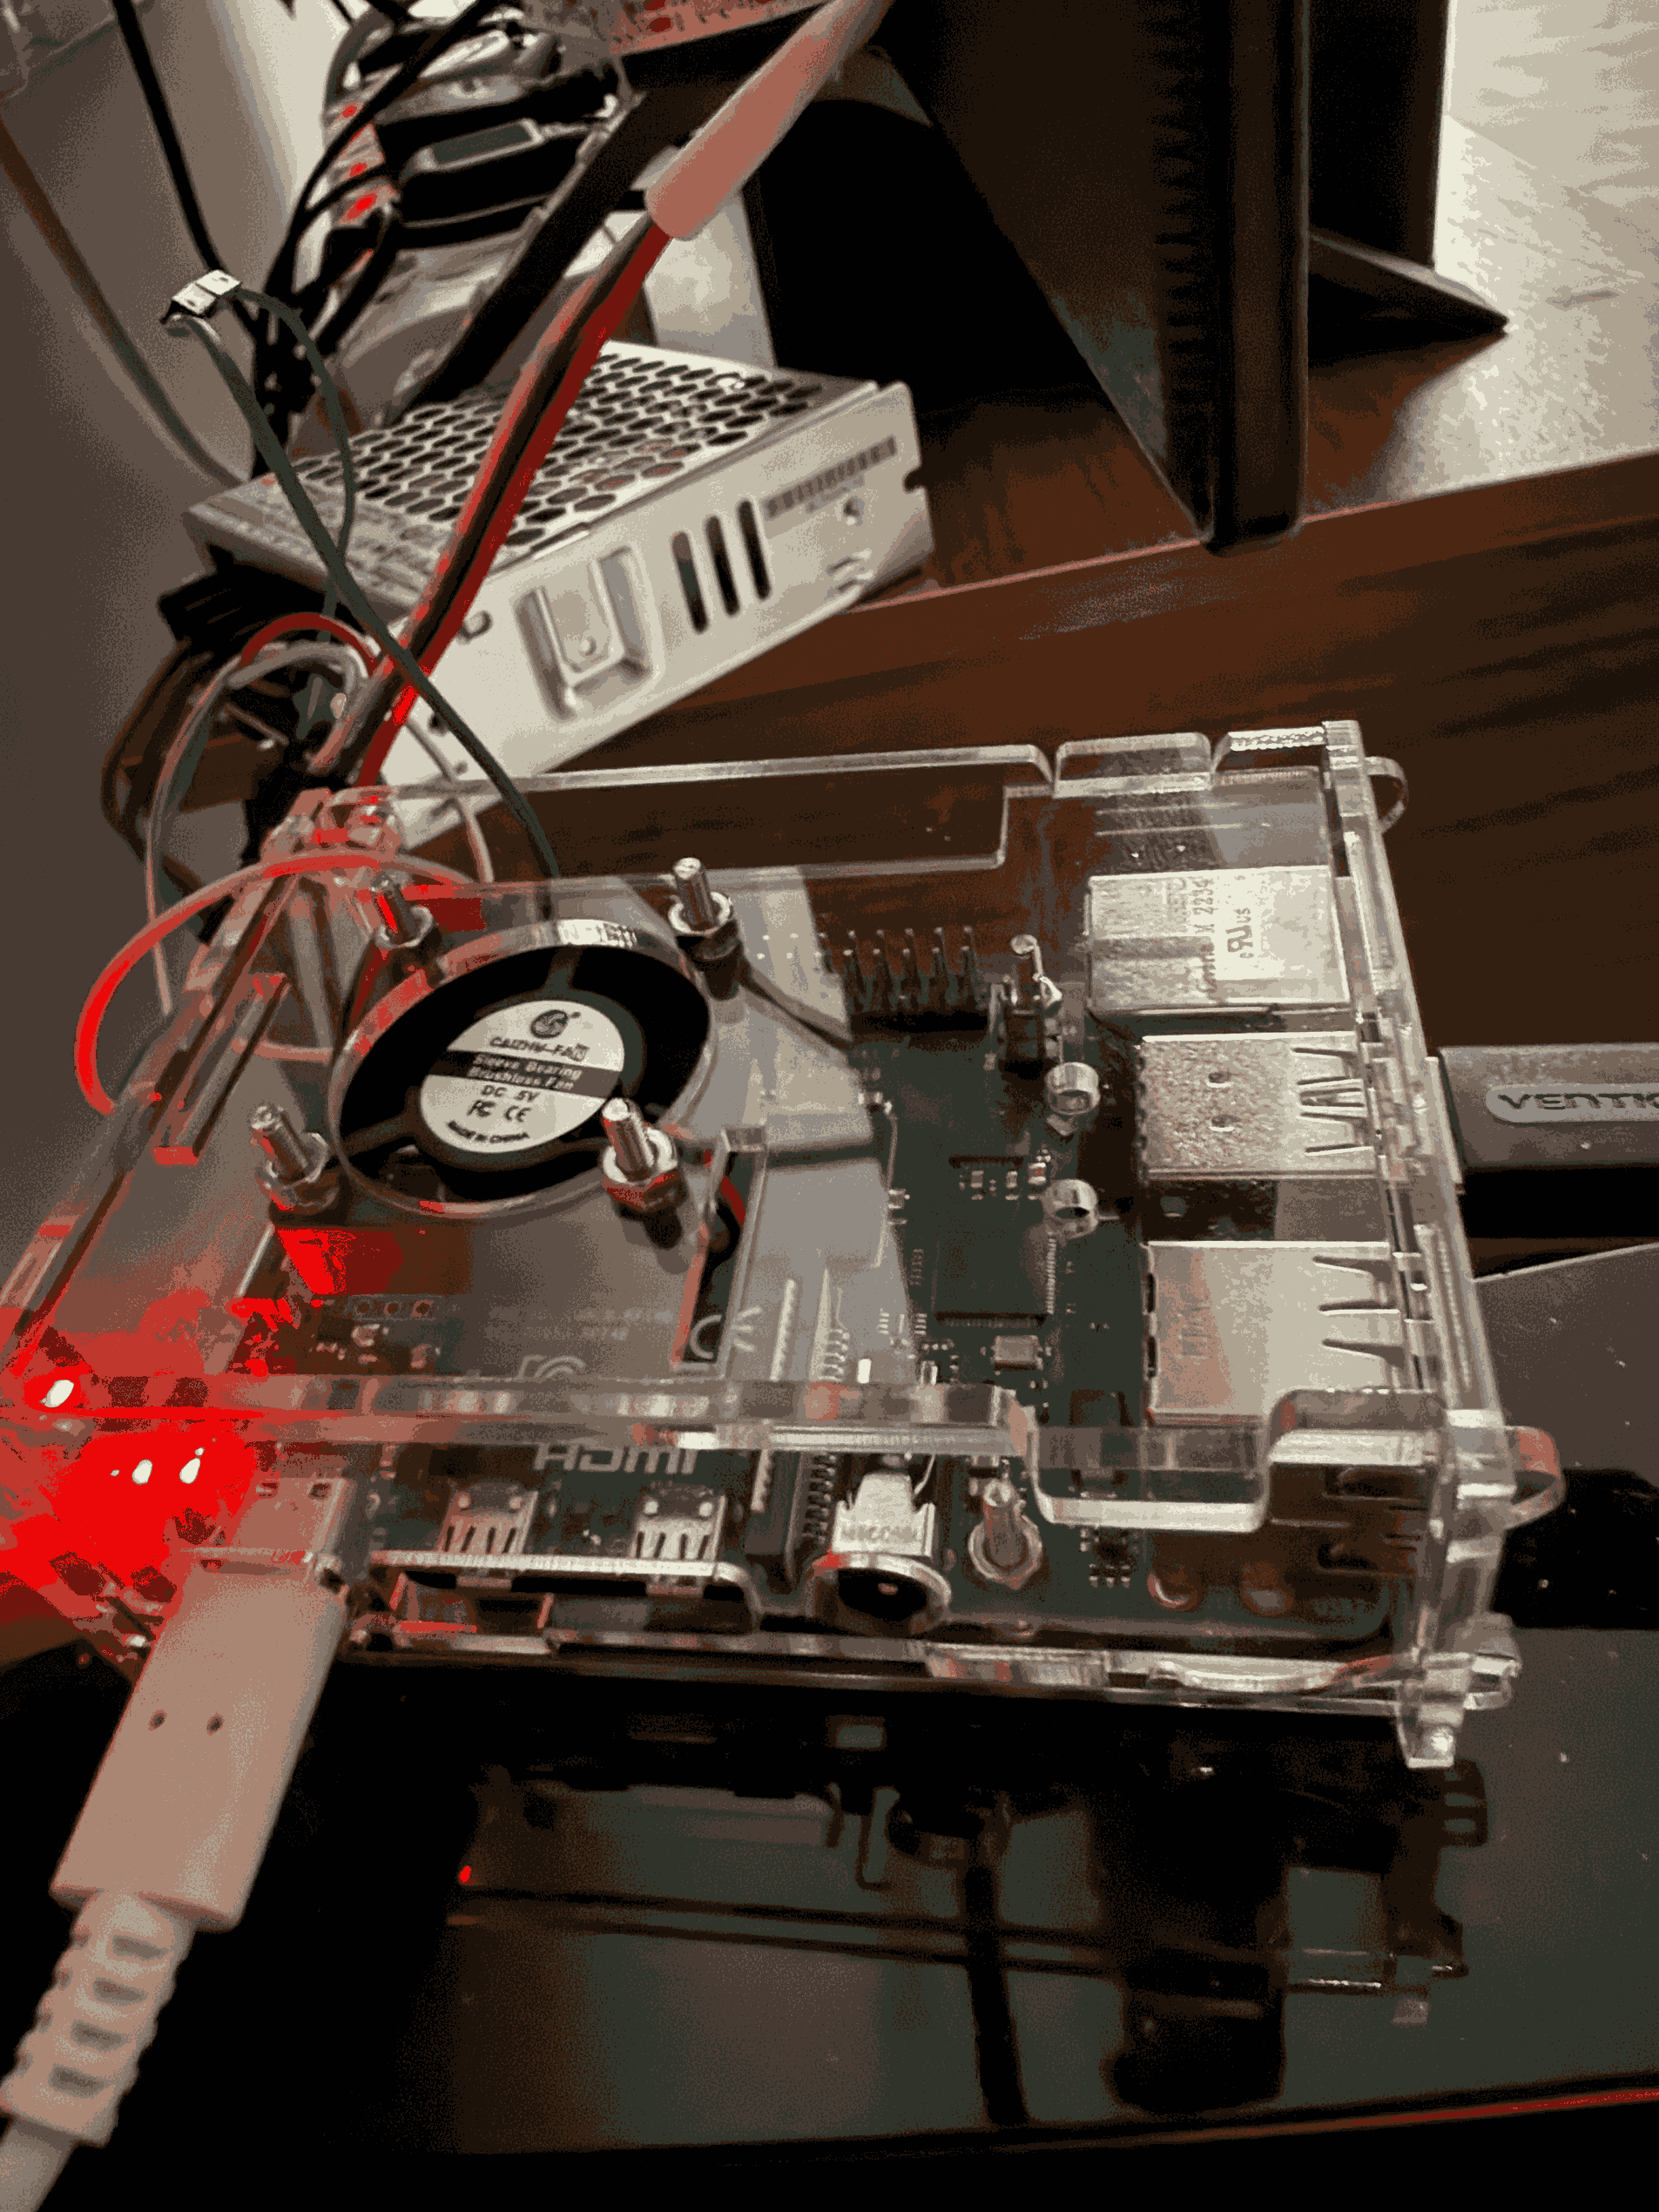
- Raspberry Pi 4 (4GB)
- Debian Bookworm OS installed on the Raspberry Pi
- Hyperion NG software
- LED strip compatible with Hyperion (addressable RGB, e.g., WS2812B)
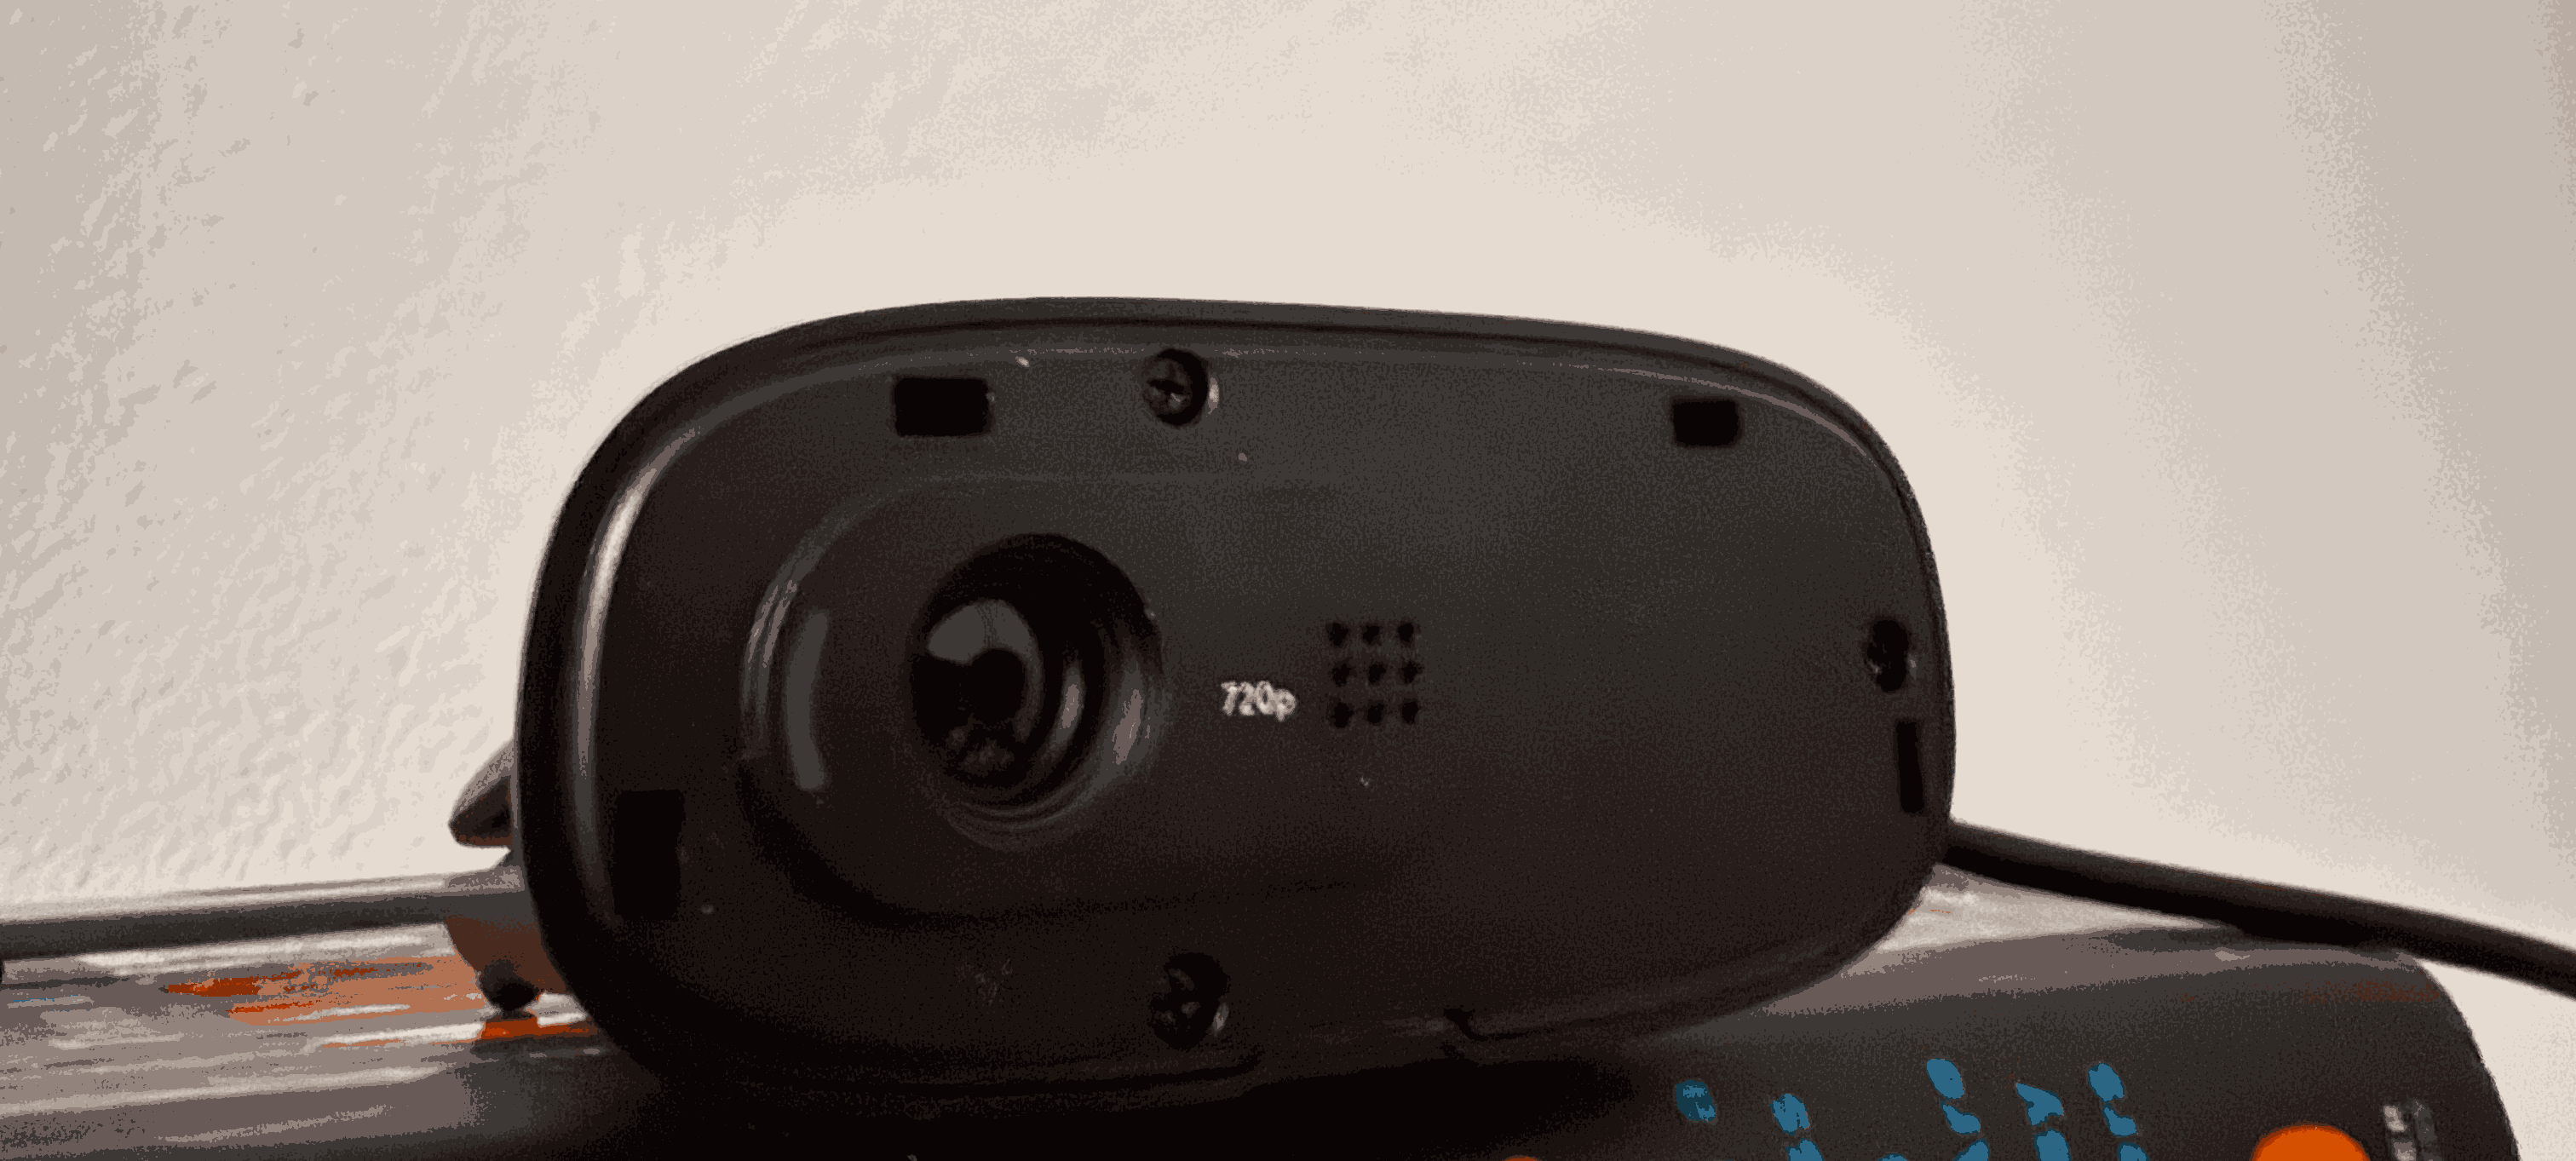
- Camera for color detection (I used a Logitech C270, which is affordable. I placed the camera further away from the TV and found that cheap fisheye lens adapters can also be used to get a wider view if needed.)
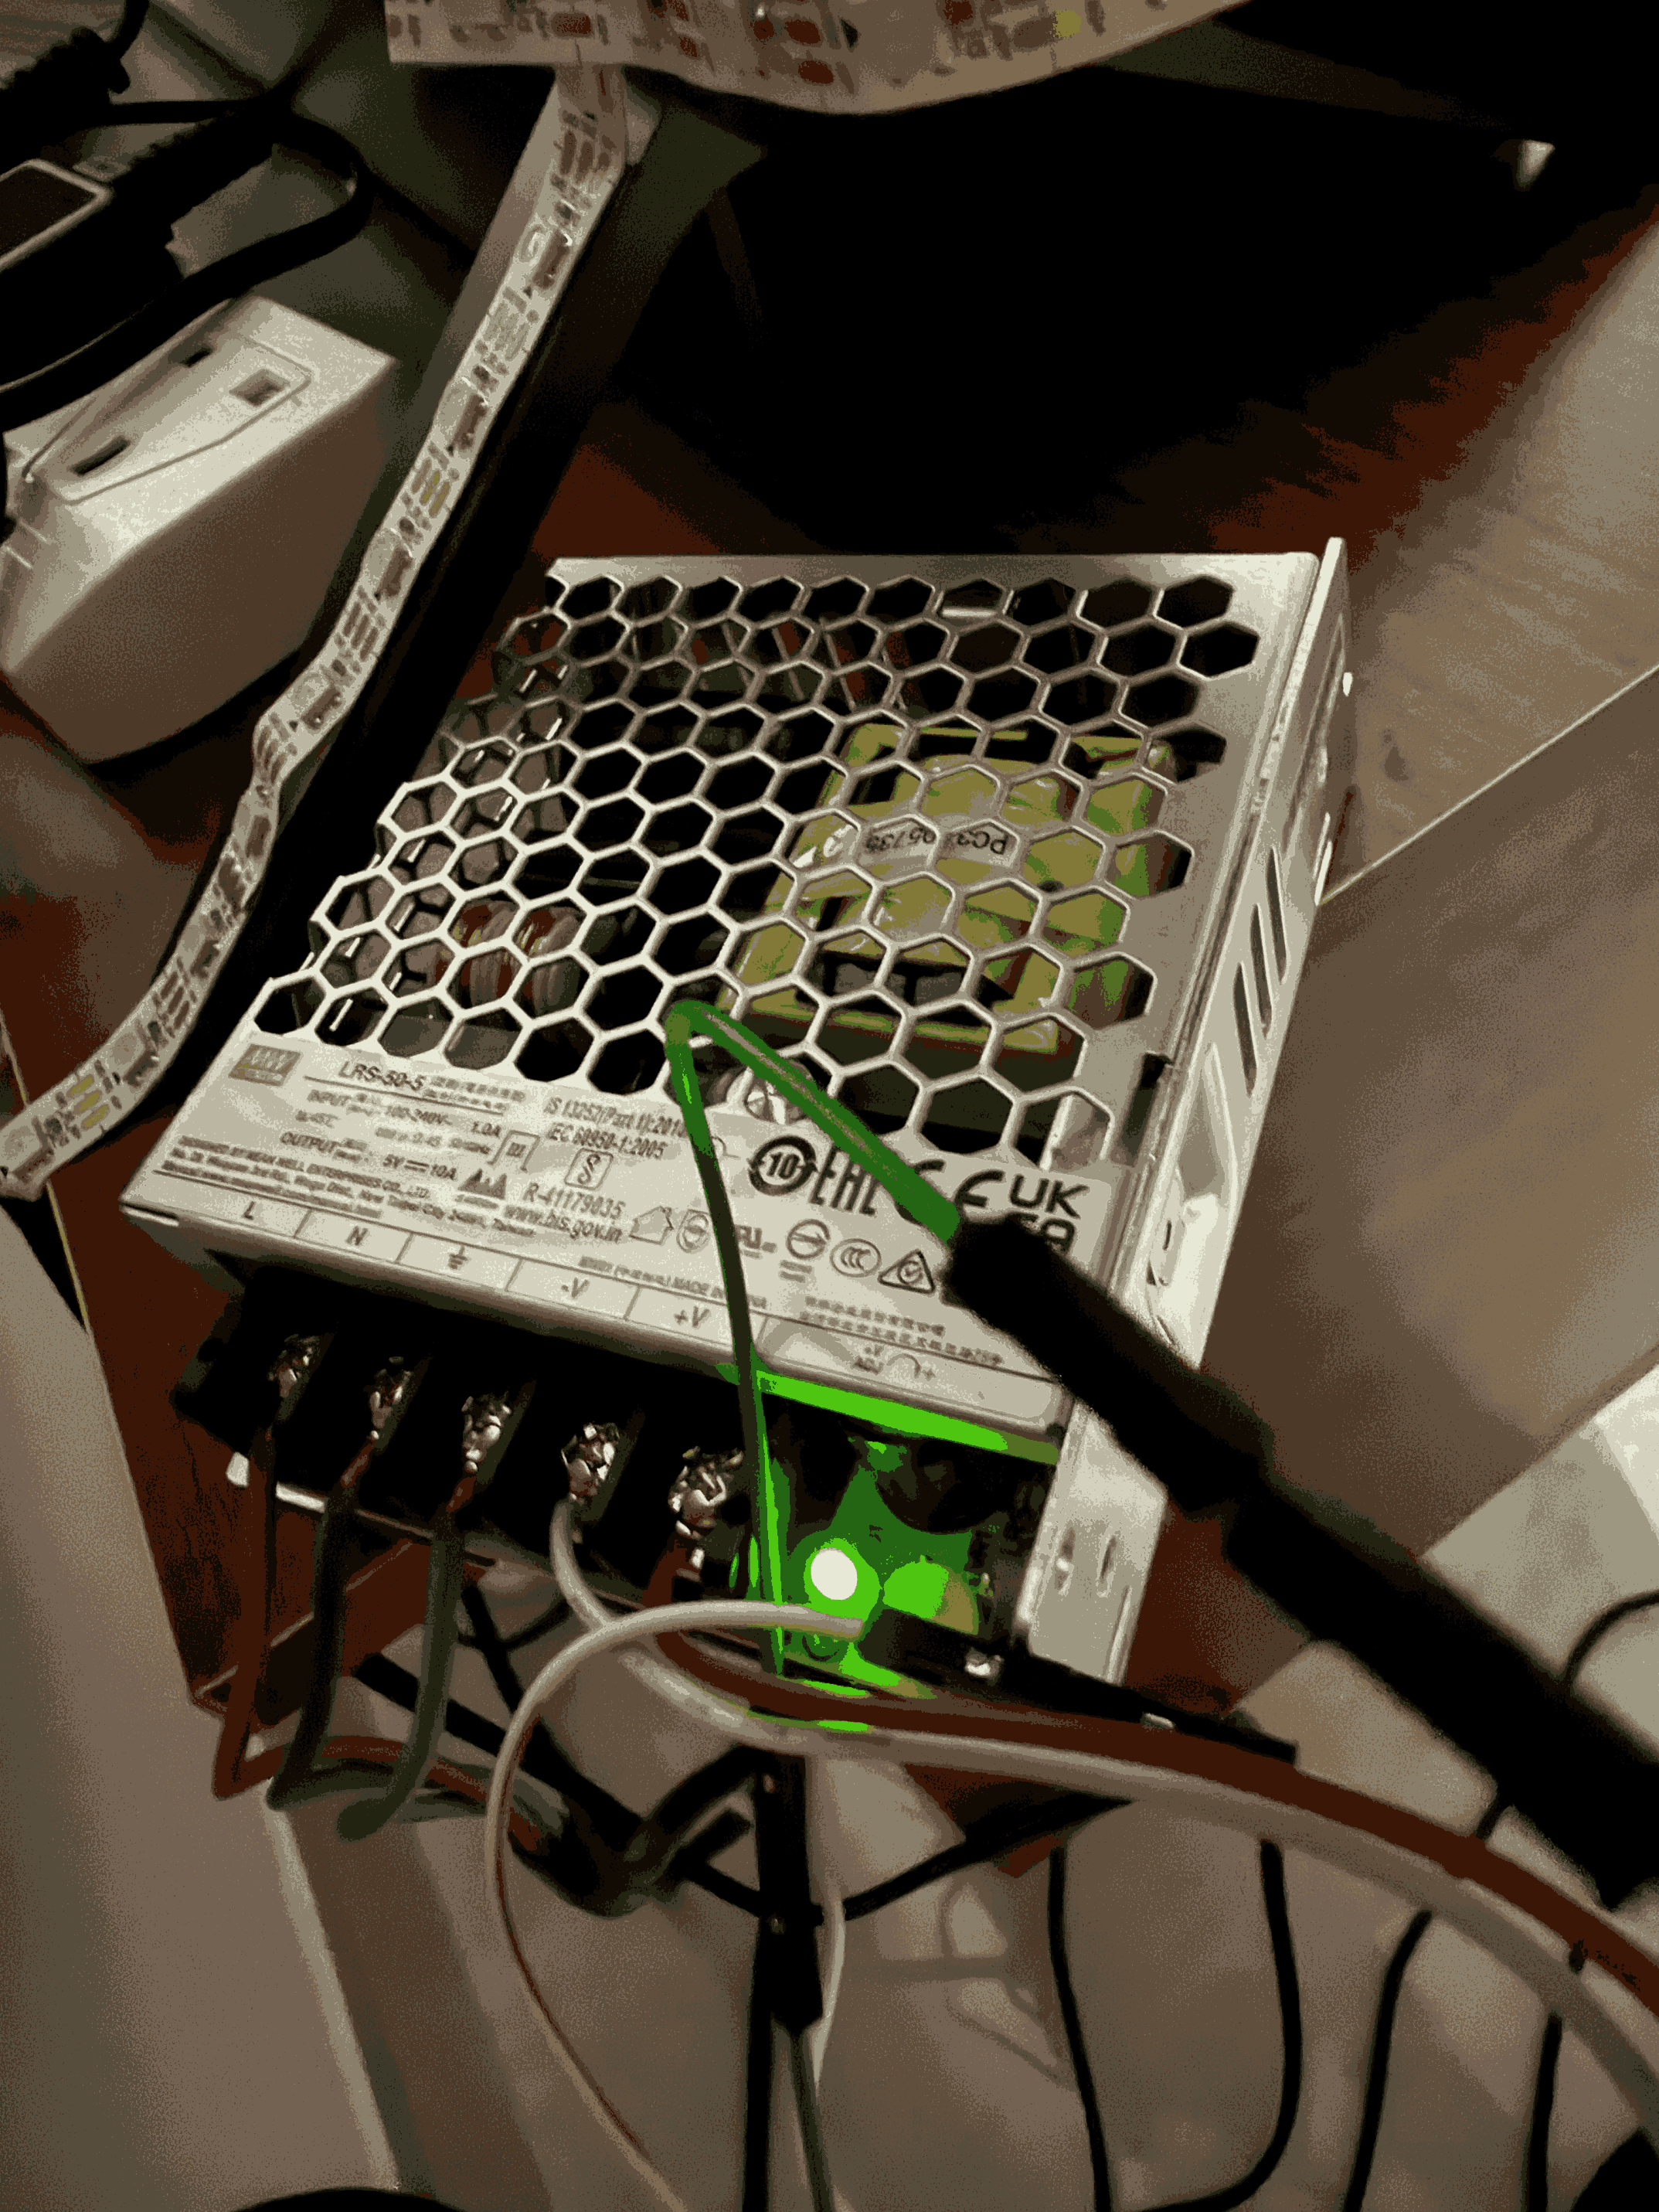
- Power supply for the LED strip
- Additional tools: HDMI splitter (optional), wiring tools, and any necessary mounting materials for the LEDs.
Step 1: Setting Up Your Raspberry Pi 4 with Debian Bookworm
Start by booting up your Raspberry Pi with Debian Bookworm:
- Download Debian Bookworm OS and flash it onto an SD card.
- Insert the SD card into your Raspberry Pi and boot up.
- If you encounter any HDMI connection issues (I faced a problem where my monitor didn’t work), try connecting via Ethernet, enabling SSH, and logging in remotely to enable Wi-Fi. Then, connect to the GUI through VNC Viewer.
- Once connected, ensure everything is up to date by running:
sudo apt update && sudo apt upgrade
Step 2: Installing Hyperion NG
Next, you’ll need to install Hyperion NG:
- Download the latest Hyperion NG release for Raspberry Pi from the official Hyperion GitHub.
- Install the package using:
sudo dpkg -i hyperion.ng-[version].deb
- After installation, start the Hyperion service:
sudo systemctl start hyperion
sudo systemctl enable hyperion
Step 3: Setting Up the LED Strip
Once Hyperion is running, it’s time to set up your LED strip around the TV.
- Mount the LED strip along the edges of the back of your TV.
- Connect the LED strip to the Raspberry Pi GPIO pins, making sure to connect the correct pins between the LED and the Pi. (For larger LED setups, an additional power supply is needed. I used a 10A power supply to ensure stability for my 5m 300LED strip.)
- Power the LEDs separately, as they may require more power than the Raspberry Pi can provide.
Step 4: Configuring the Hyperion Software
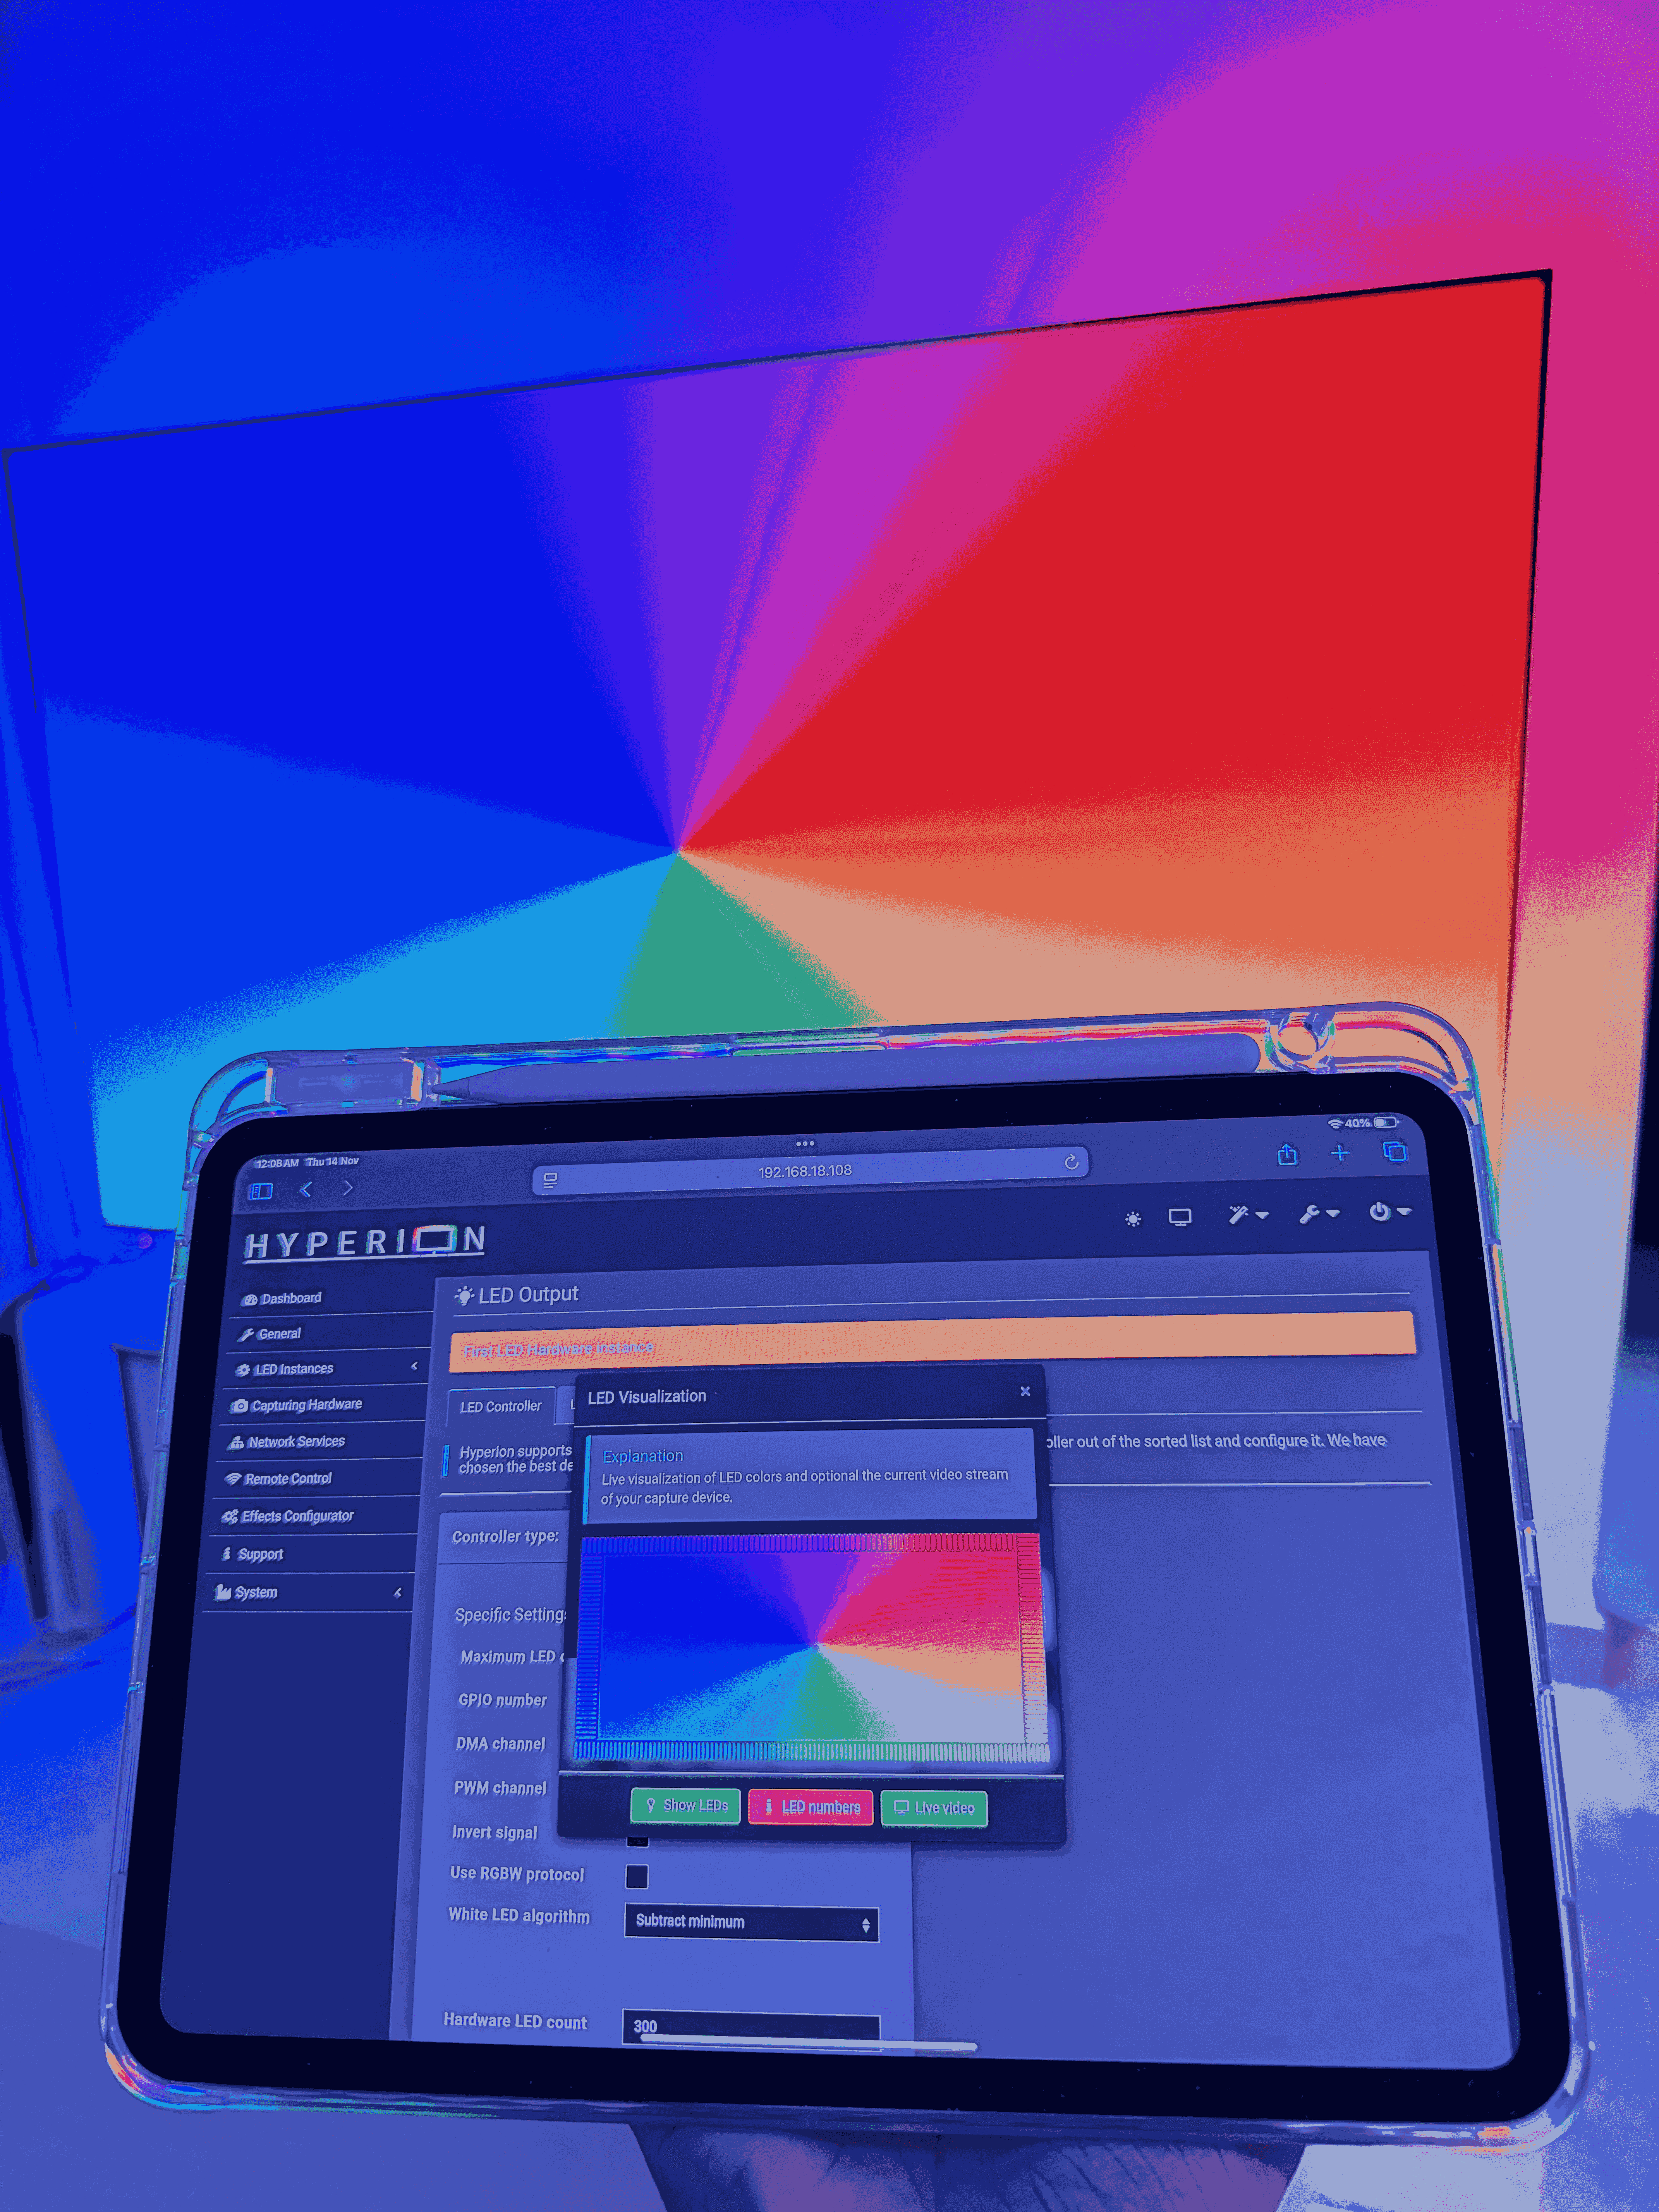
Now, open the Hyperion web interface to configure your setup:
- Access the interface by entering your Pi’s IP address in a browser.
- Navigate to LED Hardware settings and configure your LED layout.
- In the Capture settings, add the camera input so Hyperion can detect the colors displayed on your screen.
- Fine-tune settings such as color calibration, brightness, and smoothing until you’re satisfied with the Ambilight effect.
Additional Notes
To ensure consistent performance, it’s a good idea to monitor the Pi’s temperature. If the setup generates extra heat, adding a fan can help maintain more accurate color capture.
Step 5: Testing and Adjustments
After the configuration, test the setup with a movie or a game:
- Play content and monitor how the LEDs react.
- Adjust parameters like smoothing and intensity in the Hyperion interface for the best experience.
Demo of Ambilight In Action
Final Thoughts
Setting up Hyperion on a Raspberry Pi can be challenging, but the immersive results are worth the effort. This Ambilight setup will elevate your viewing experience, making it perfect for movies, gaming, or even music.